
Submitting a Chambers Plan claim is fast and easy with My-Benefits. Follow our quick guide steps below to help with your submission.
To file your claim go to www.my-benefits.ca. A login page will appear with the following information:
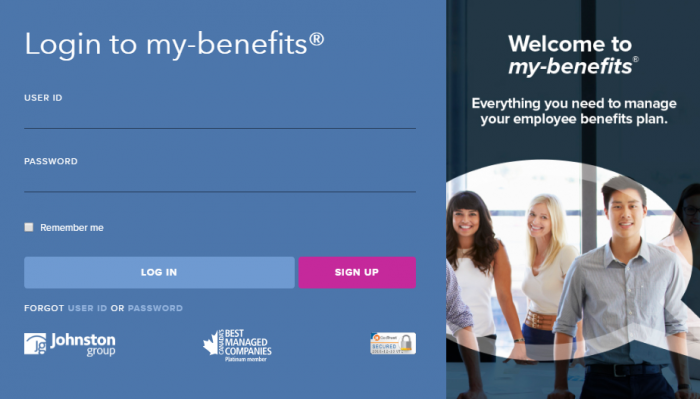
If you have not previously used My-Benefits you will need to setup an account. Click ‘sign up’ and make sure to have your policy and certificate numbers available. The information that you enter must match your certificate information. For instance, your name must be what is listed on your cert, even if you use a variation of this in day to day life such as David and Dave. Your login information can also be used for the My-Benefits phone app making claim submission even easier!
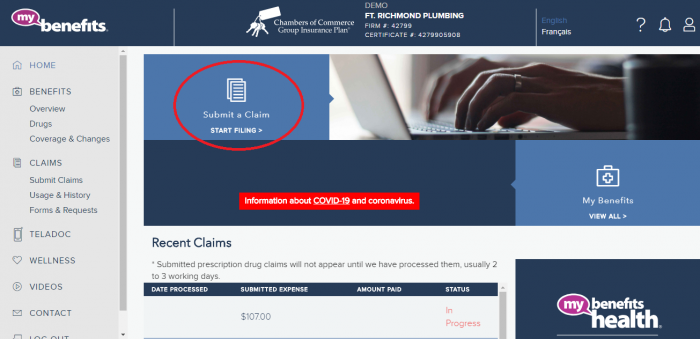
Once you are signed up, login to your My-Benefits account. You will be directed to your main dashboard. From here you can submit your claim and also, see what claims are pending and processed.
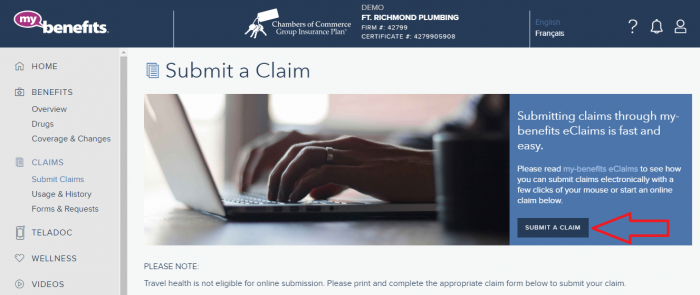
Click ‘submit a claim’ on the top left hand side of the main dashboard.
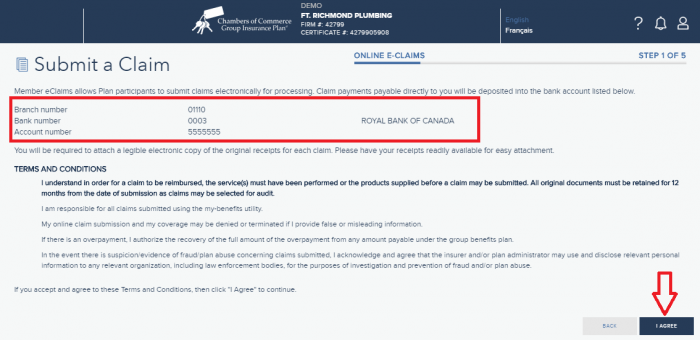
First, you will be asked to submit banking information or, confirm that your banking information is correct. This is important as claims are deposited directly into your account. If you change your banking information, make sure to update this. Once you have confirmed that this information is correct, select agree at the bottom right hand side of your screen.
Next, select which patient you are claiming for. This is important as claims will not be processed if the name on the invoice doesn’t match the claimant.
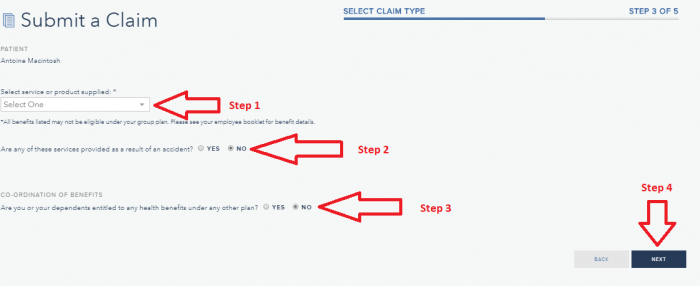
You will be asked to select the service or product supplied (step one). Indicate if the services are provided due to an accident (step two). Ask if you are entitled to health benefits under another plan such as, your spouse/partner’s plan (step three).
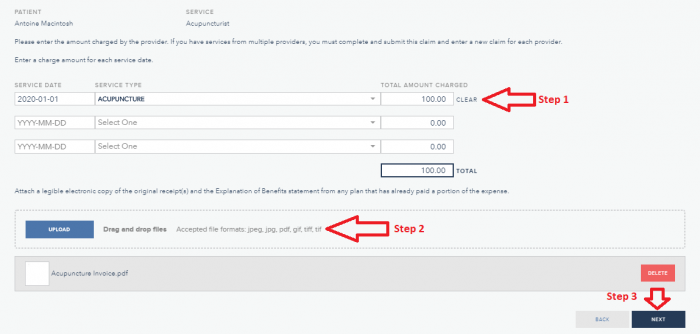
The next page will be where you actually upload the claim information. For step one make sure to list all the claims that you are submitting. You must include the service date, service type and total amount charged for each individual claim. Do not combine claims to one service date, they must be listed individually. Also, do not combine claims for more than one person as they can only be for the claimant. For step two upload your invoices for the services (you can upload more than one). These can be in the format of jpeg, jpg, pdf, gif, tiff or tif. Once you have uploaded all invoices click next at the bottom right on the screen.
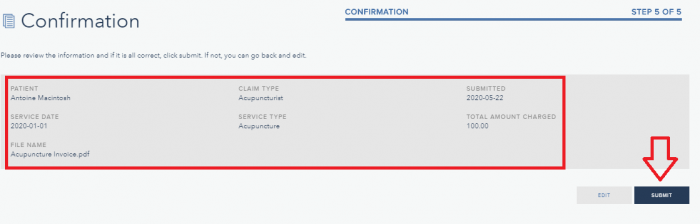
The last step is to confirm the information that you are submitting. Make sure to review this carefully. One done, click ‘submit’ on the bottom right to complete the process. Your claim is now submitted.
All of your claim information can be tracked on the main dashboard once it is submitted. Your claim will move from pending to processed once it is read to be paid. All eligible reimbursements will be deposited into your bank within a couple of days.
Comments are closed here.